How To
Overview
This theme includes support for WooCommerce, WooDojo, and our Features & Testimonials plugins.
Menus
There are three menu locations included in this theme:
- Primary Menu – This is the menu that sits below your logo.
- Top Menu – This is the smaller menu area at the very top of the theme.
- Footer Menu – This is the menu that sits between footer top and footer bottom.
To setup your menus go to: Appearance > Menus
Homepage Overview
Set Up The Header
The header in Appply consists of your logo or site title, two menu areas, and the option to show your carts content. Of the two menus, you have a primary menu and a top menu. The primary menu is what will show to the right of your logo or site title. The top menu, as it’s name implies, is above your logo, primary menu, etc… Refer to our section for setting up menus for those two areas.

Custom Logo
To set a custom logo image go to:
Appply > Theme Options > General Settings > Quick Start > Custom Logo
- Upload your logo image by clicking on the Upload button.
- Upload your logo file. Usually a .png or .jpg
- Select the Use this Image button.
- Then Save All Changes in your theme options.
Show Cart In Header
To enable the cart go to:
Appply > Theme Options > WooCommerce > General
- Enable or disable to suit your preference.
- Save All Changes in your theme options.
Set Up The Slider
Appply has a built in featured slider that uses the Slides custom post type for it’s content. The slider is positioned right beneath your sites logo and primary menu area.
To setup the slider go to:
Appply > Theme Options > Featured Slider > Slider Content
- Enable or disable the slider at the top.
- Choose the number of slides you want to show.
- Choose a slide group, if using our WooSlider plugin, to display on the homepage.
- Save All Changes in your theme options.
To view additional featured slider settings go to:
Appply > Theme Options > Featured Slider > Slider Settings
To create a New Post for the slider go to:
Slides > Add New

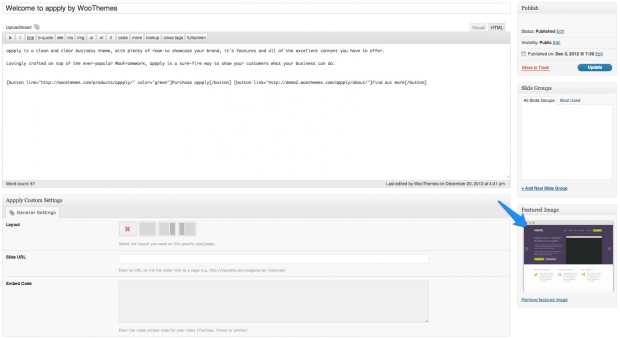
- Add a title and content in your slide post.
- Add a featured image.
- You can add a video directly to your content, or use the embed field.
- You can as well link the slide to any URL using the Slide URL field.

Set Up The Homepage
In the homepage options you will find settings to control the Features, Homepage Content area, Testimonials, and an Introduction Message.
To enable or disable what you want to show on the homepage go to:
Appply > Theme Options > Homepage > Homepage Setup.
Features
To display features on the homepage you need toÃÂ install the Features by WooThemes plugin.

Once the plugin is installed you can set these options:
- Select the number of features to display.
- Set the title for the features section.
Homepage Content
Here you can choose to show a page or blog posts in this area. We’ve opted to show our about page in our demo.
- Select the content type you want to display.
- Set the appropriate options from there for either a page or blog posts.
- If you set the content type to blog posts, ignore the page content option.
Testimonials
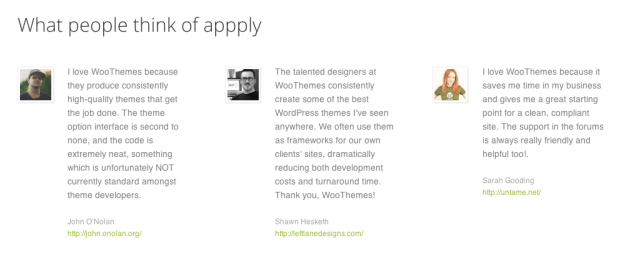
To activate Testimonials on your homepageÃÂ you need to install the Testimonials by WooThemes plugin.

Once the plugin is installed you can set the options inÃÂ Appply > Theme Options > Homepage > Testimonials:
- Select the number of testimonials to display.
- Set the title for the testimonials section.
Introductory Message
You can write a welcome message that will appear right above your footer by enabling it in your Theme Options.

To set your introductory message go to:
Appply > Theme Options > Homepage > Introductory Message
Appply Button Styles
One last item to note here, Appply comes with two default styles if you are using the [ button ] shortcode. By default that shortcode will render the purple button you see in the introduction message and in the slider. You can easily create that green button as well by a little addition to your button shortcode. It ends up looking like this [ button color=”green” ]
Widgetized Homepage
It is possible to customise the layout of the sections on the homepage. This is done using the Woo – Component widget and the Homepage widget area.
Drag the Woo – Component into the Homepage widget area for each section you want to add to the homepage.
If you’d like to display Features or Testimonials in this widget region, please use the dedicated widgets called Features and Testimonials respectively.
Special Widgetized Footer Right
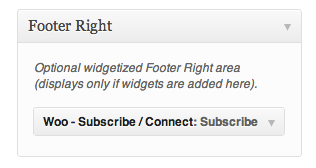
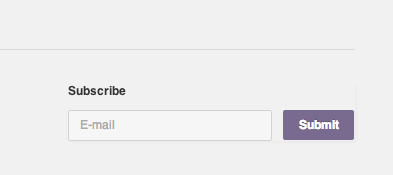
We’ve included one additional widget area in Appply, it is called Footer Right. It’s a nice little area to put a widget of your choice that, as the name says, appears in the right half of your footer. We’ve chosen to put our Subscribe & Connect widget there for the demo.


Set Up The Features
[insert name=”docs-features-plugin”]
Set Up The Testimonials
[insert name=”docs-testimonials-plugin”]
Widgets
Custom Appply Widgets
The theme includes 7 custom widgets that you can add to any of your widgetized regions. Appply also includes styling for many of our WooDojo widgets.
The custom Woo widgets included are:
- Woo – Adspace
- Woo – Search
- Woo – Flickr
- Woo – Blog Author Info
- Woo – Embed/Video
- Woo – Subscribe/Connect
- Woo – Component
[insert name=”adding-widgets”]
Page Templates
[insert name=”page-templates”]

