Follow the steps below to add the WooCommerce Helper and connect your store to WooCommerce.com. Once you’ve done so, we can:
There will be some exciting new services available for connected stores in 2017, so we highly recommend taking this step!
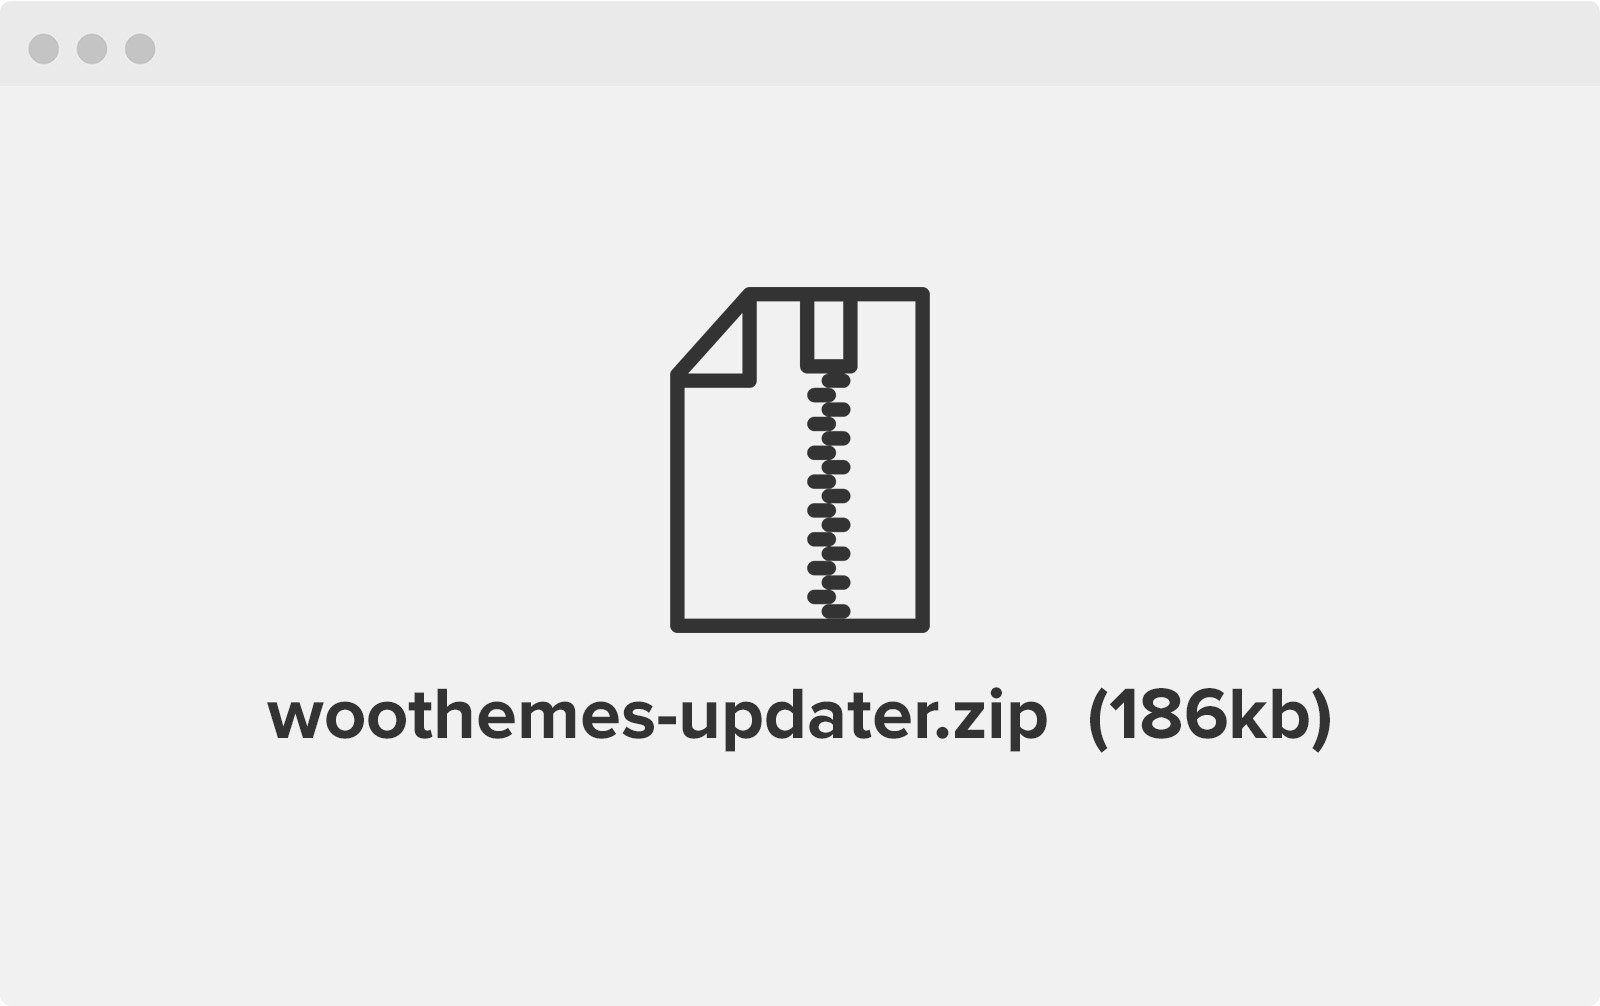
Download the WooCommerce Helper.
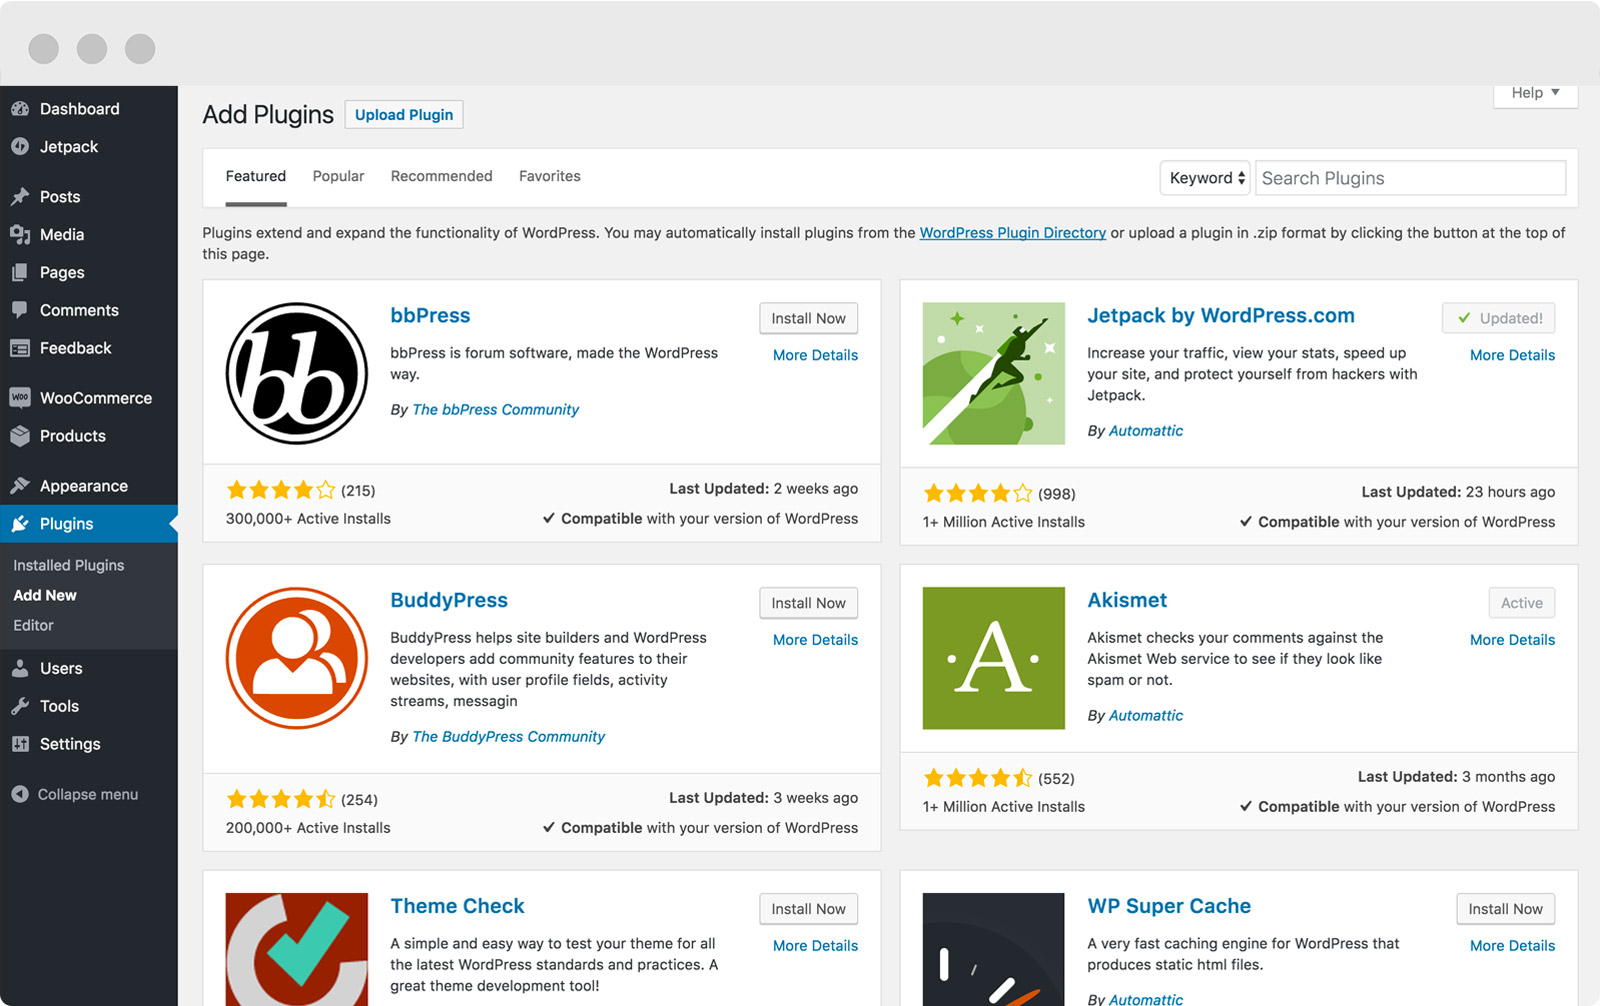
Go to your WordPress Dashboard and select Plugins > Add New. Click Upload Plugin.
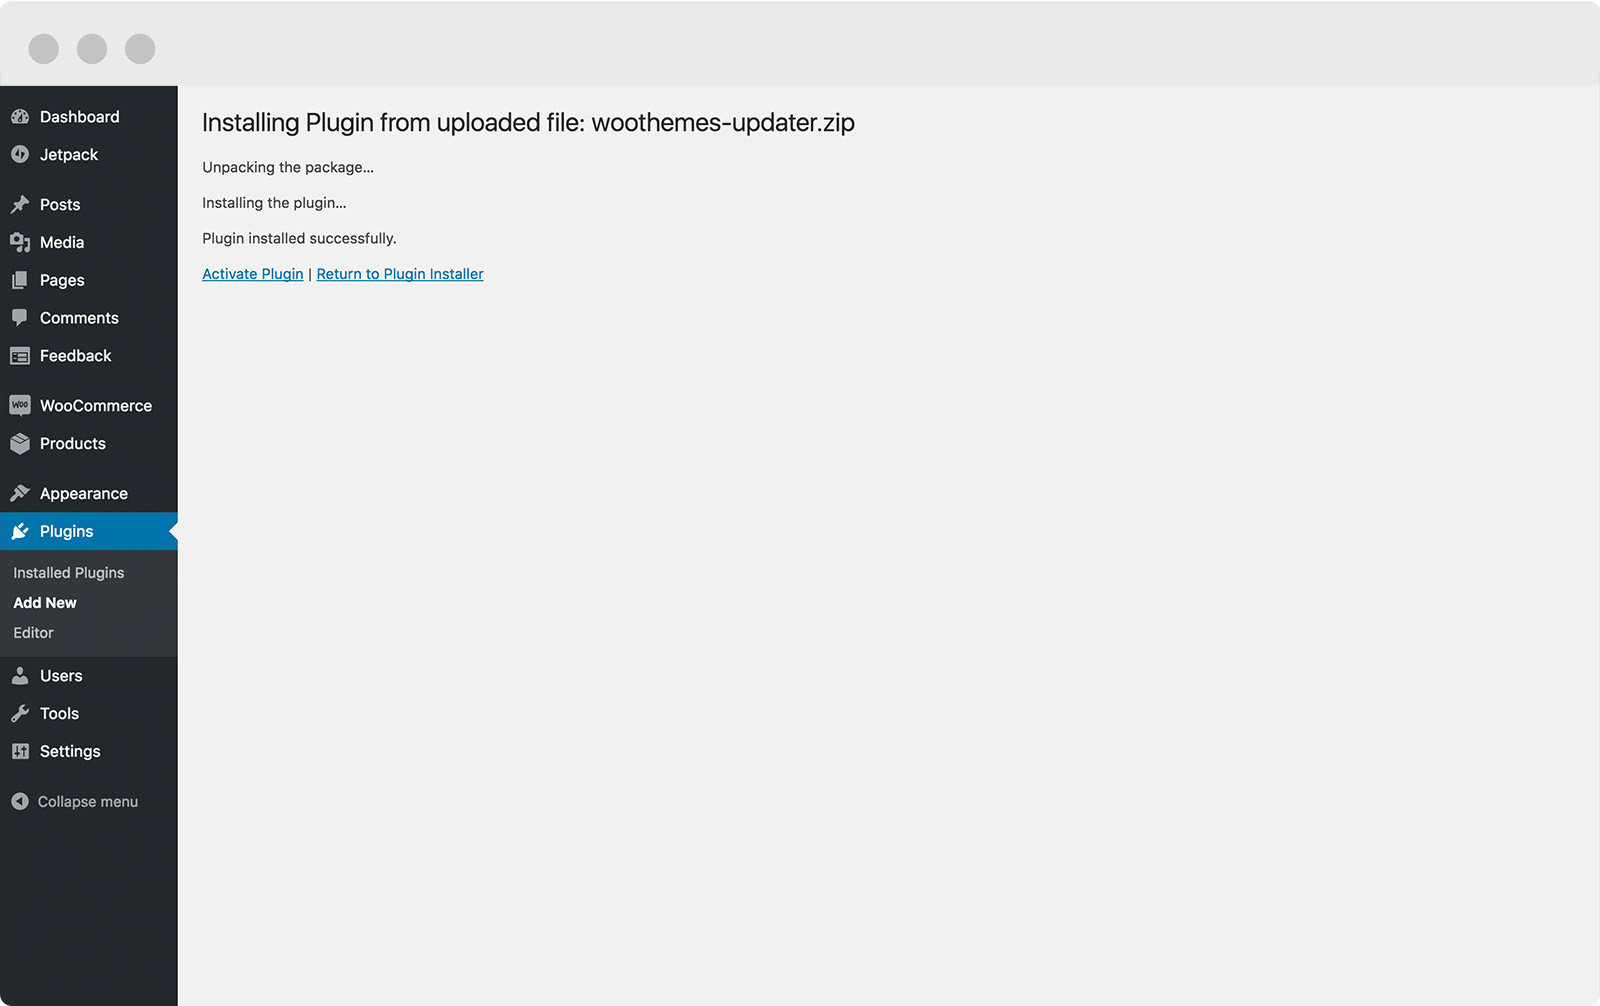
Upload the WooCommerce Helper file you downloaded previously, then click Activate.
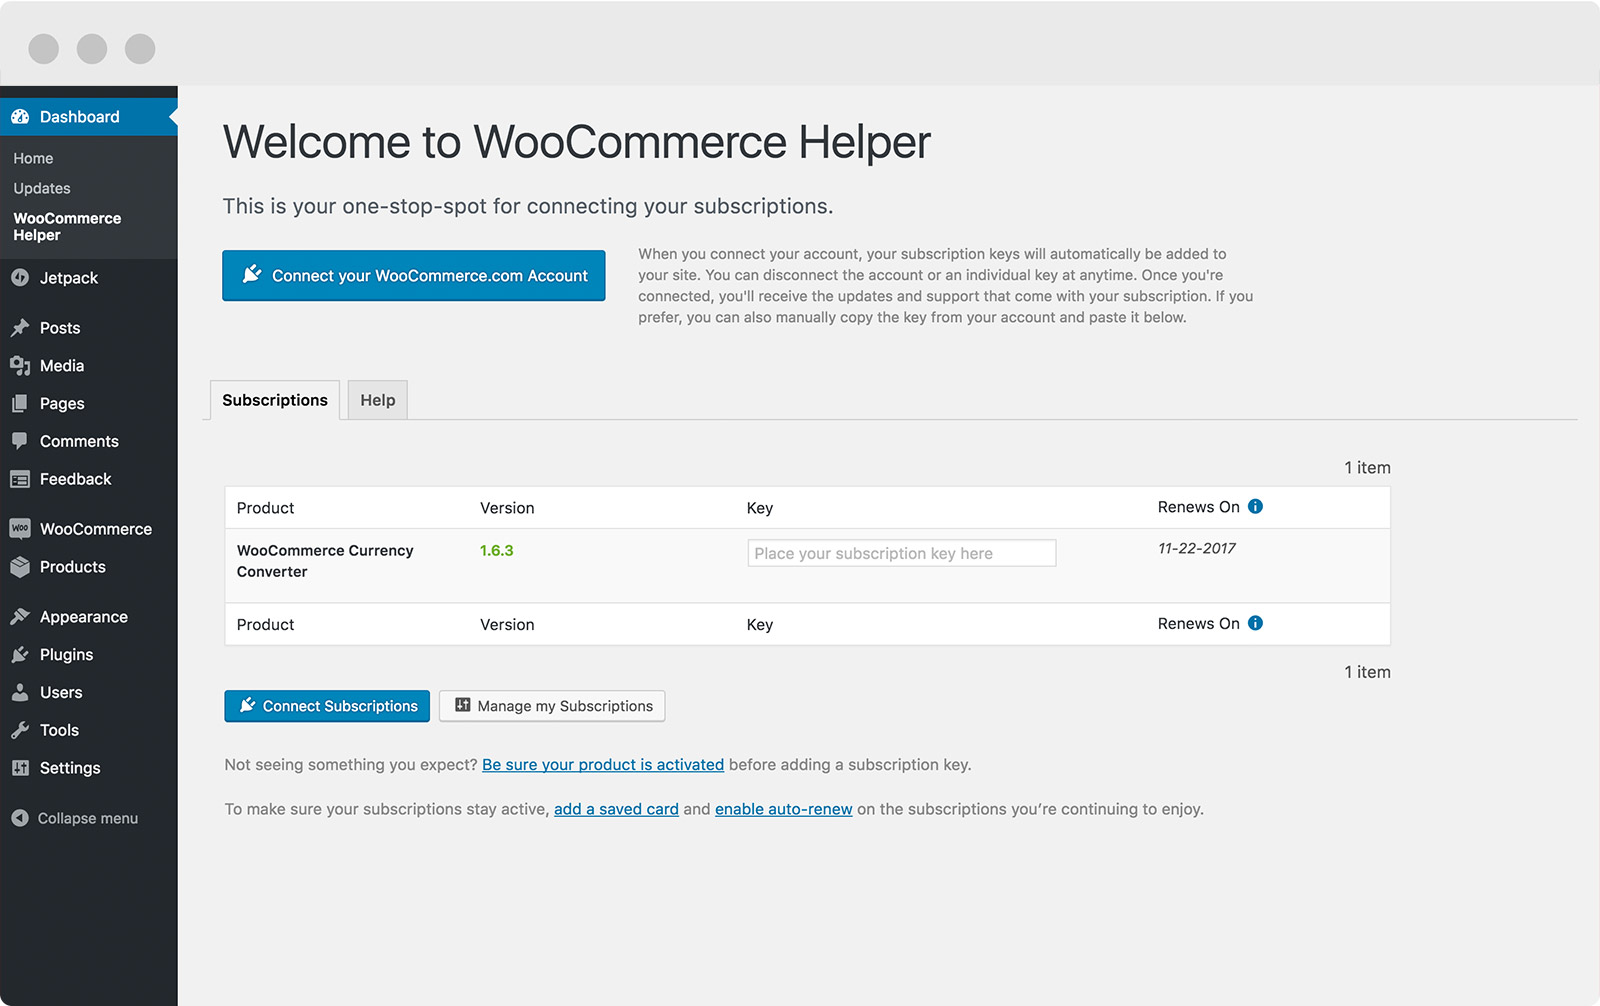
Go to Dashboard > WooCommerce Helper and click Connect Account.
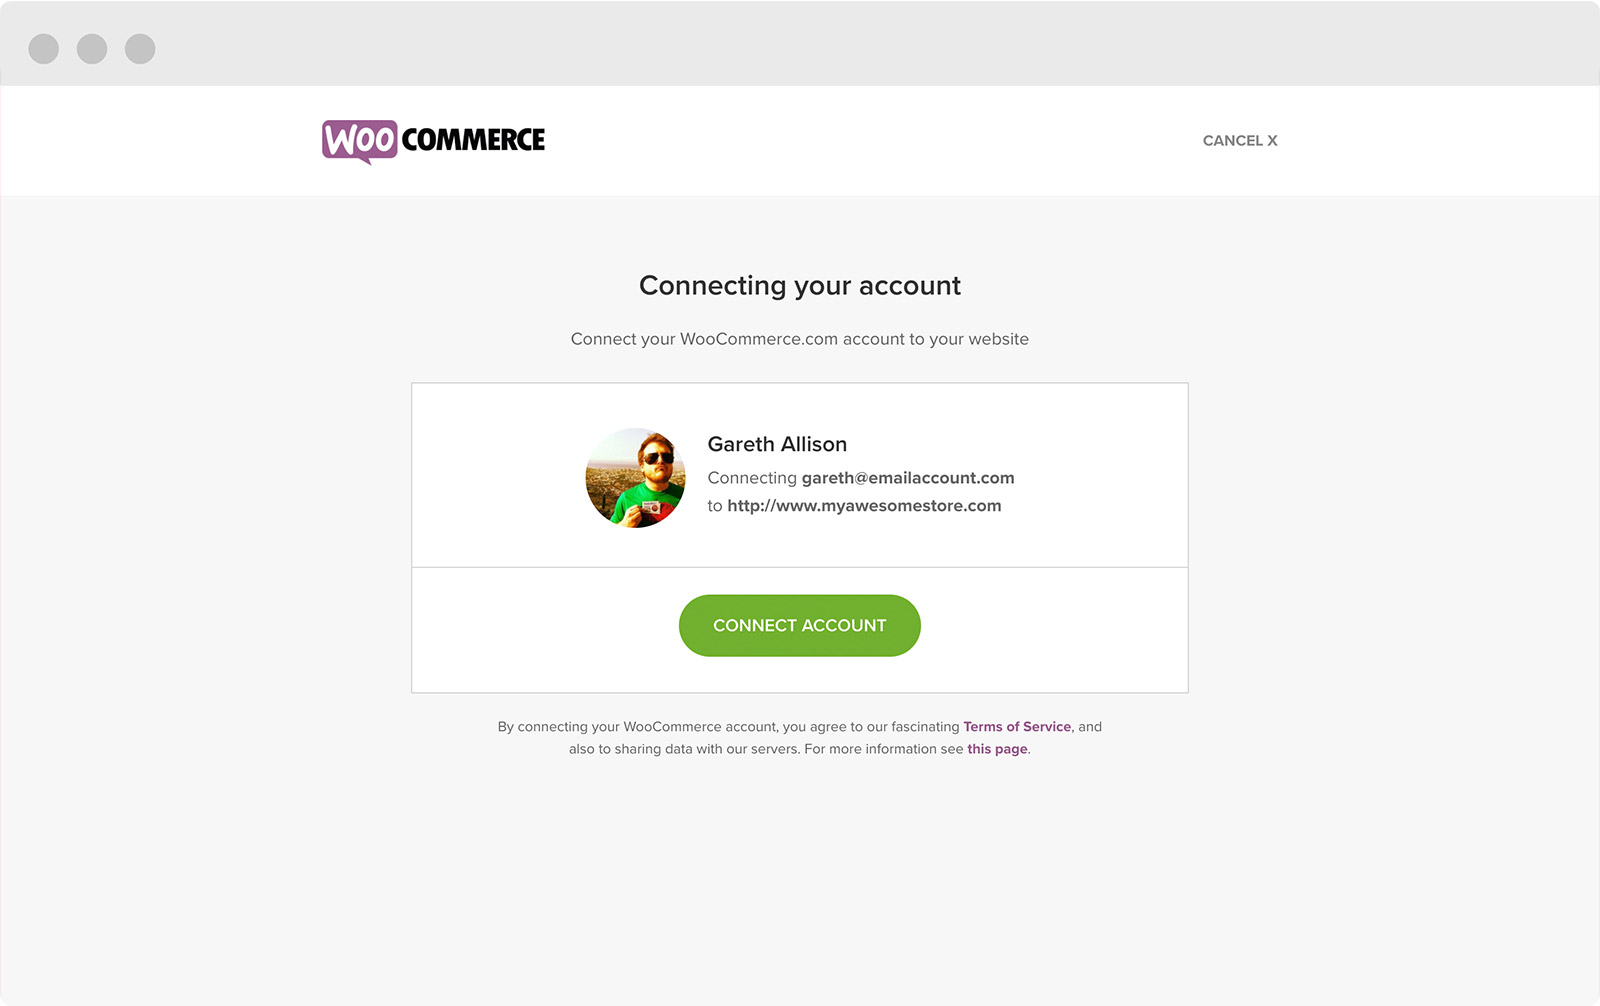
Click Connect Account.
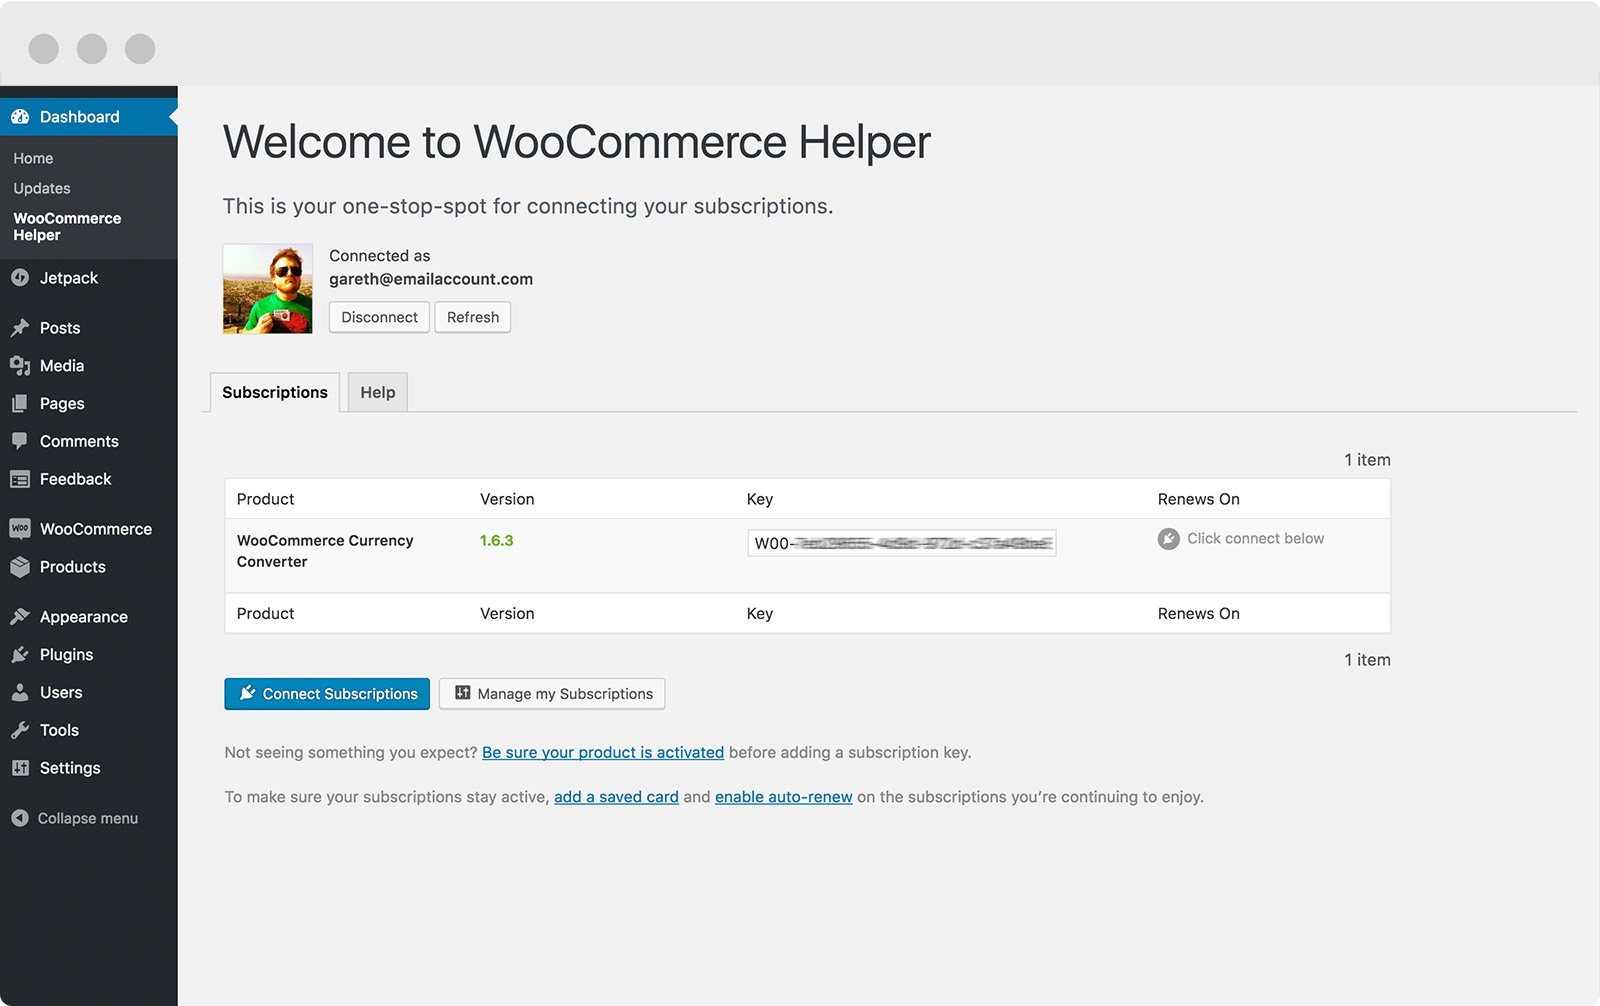
Thatâs it! Enjoy being connected to WooCommerce.com.
When you’ve followed the steps above, you’ll be all set up to get updates, security patches and support. Remember, you can only open a support ticket if you’ve done this, so we highly recommend it. See full installation instructions for the Helper.
If youâre new to WordPress and Woo, hereâs how to get started with WooCommerce in five steps.