How To
Setting Up Definition
Welcome to our theme we call “Definition”. “Definition” is a clean and clear theme for everyone who loves producing content. It’s a perfect business theme, WooCommerce theme, and is suitable for blogging as well, all rolled into one package! Not to mention it supports a few of our popular plugins, WooDojo & WooSlider, while also helping to introduce two new ones to you. We’ll cover those later, for now let’s walk through the homepage setup.
Definition’s homepage can be setup in two ways. Either the standard module based setup, or you can have it be widgetized. Going widgetized lets you re-order any of the modules below the slider on the homepage using our included “Woo – Component” widget. Or you can use any widget available to you on the homepage.
Setting up widgets is as easy as dragging and dropping widgets into the “Homepage” widget area on the “Appearance > Widgets” screen, but let’s go over using the modules and how to enable those.
Menus
There are three menu locations included in this theme:
- Primary Menu – This is the menu that sits below your logo.
- Top Menu – This is the smaller menu area at the very top of the theme.
- Footer Menu – This is the menu that sits between footer top and footer bottom.
Setting Up The Search Bar
At the top you’ll find our usual header areas for a logo, a top navigation, and a main navigation. We have documentation on creating menus below. One other thing to talk about in the header is the search bar. There is the option to turn off/on the search bar in the header if you desire. This search bar can also be setup to search through the website content, or your product catalog, if WooCommerce is activated. By default, it searches through your website’s content.

If you’d like to have an all inclusive search bar, we recommend checking out either Relevanssi or Search Everything to add this functionality.
Setting Up The Slider
We have our standard “slide” post type built into this theme that helps power the homepage slider. It’s as simple as creating a few slides and choosing your settings to get up and running with your slider. Let’s first run over the slider’s options
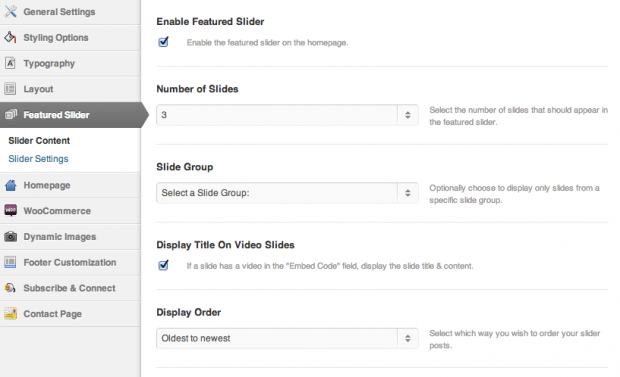
In the first set of options under the slider content you’ll see some important options. Of most importance is the “enable” option. If you want to use the slider you will need to check this checkbox. The second most important option to understand is the number of slides. Here you will want to select a number that matches at least the number of slide posts you have created. For example, if you select to feature 3 slides you need to have, at the minimum, 3 slides created.
A new part of this “slide” post type is the slide group. It’s an easy way to organize your slides, and is important if you wanted to create slides that belong to different sliders. This comes into an important role with the theme’s integration of WooSlider. To provide an example, if you had our WooSlider plugin activated with “Definition”, you would be able to create and select a slide group to use in the slider on the homepage. No extra coding required! This let’s you create a second slide group and use a WooSlider shortcode to create a second, separate slider in a post or page.
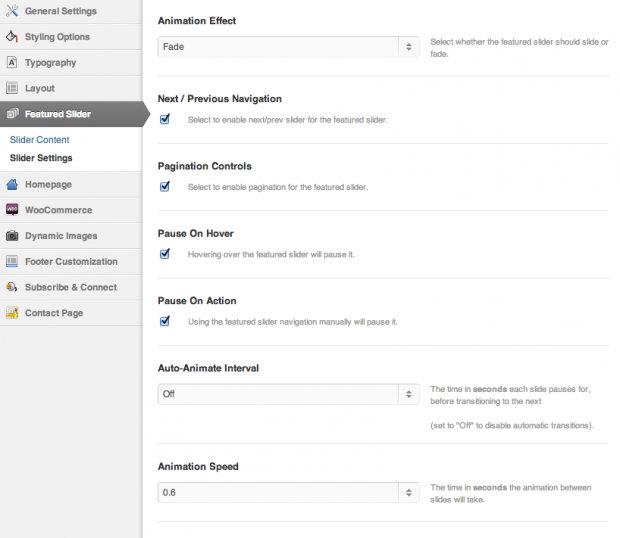
The second screen of slider options under slider settings control more of the sliders timing. Those options are fairly self explanatory.
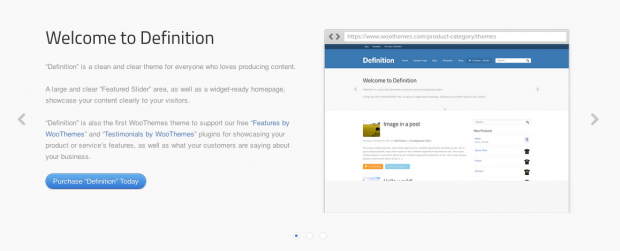
To add a slide follow these steps:
- Go to Slides > Add New.
- Type a title for the slide and complete all of the post’s body content. You can embed buttons and images here as well.
- If you want to use a video simply past the embed code in the proper box under the Custom Settings
- Choose a Slide Group if appropriate.
- Publish the slide.
Setting Up The Content Area
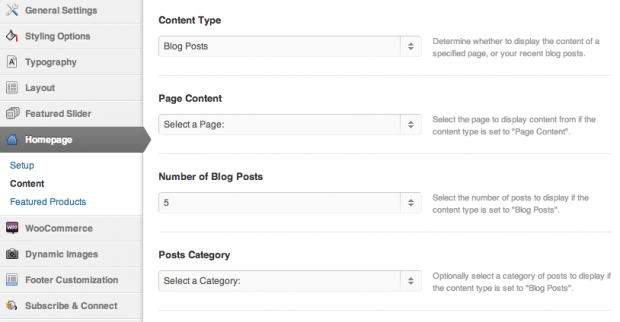
The content area is featured in some of our other themes, and is a way to add a page’s content or blog posts to the homepage. To first set this up you’ll want to visit the Homepage > Setup screen and enable the Content Area.
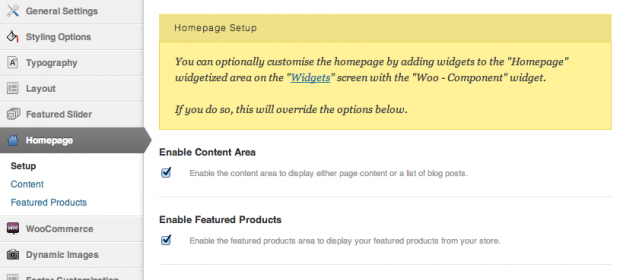
Then on the Homepage > Content you can setup the page content you want to show on the homepage, or the blog options you have here to show your posts.
Setting Up The Featured Products Area
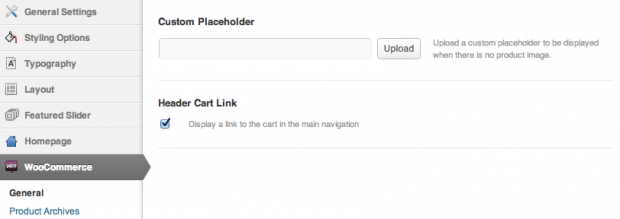
Definition comes with WooCommerce integration included. The only thing you need to do to make this work is make sure our WooCommerce plugin is activated and checkout some of the theme’s options to set it up as you’d like.
You can turn on and off the cart link in the header, as well as set a custom placeholder for products without images. You can set your shop page to be full width as well as set how many product columns, and even the amount of products per page.
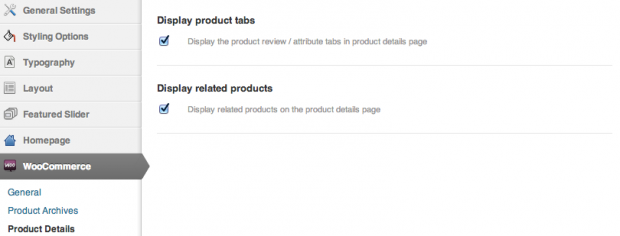
Finally you have the option to show or disable both the product tabs and related products.
Setting Up The Features
Definition is the first of our themes to have integration with our new “Features by WooThemes” plugin. If activated, the plugin will show up automatically on the default homepage.
[insert name=”docs-features-plugin”]
Setting Up The Testimonials
Definition is, as well, the first of our themes to have integration with our new “Testimonials by WooThemes” plugin too. If activated, the plugin will show up automatically on the default homepage.
[insert name=”docs-testimonials-plugin”]
Customised Login Screen
Definition comes bundled with a custom login screen to compliment the theme’s design.
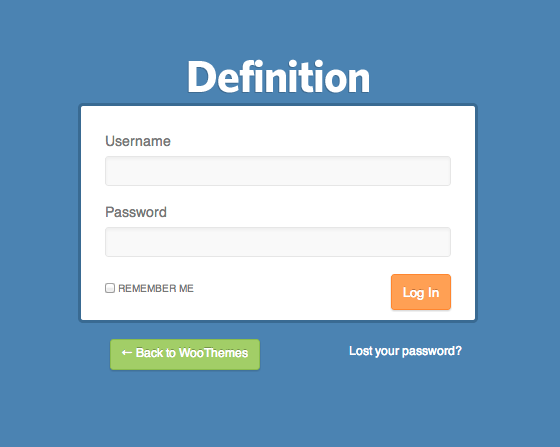
It’s possible to customise the logo via the “Branding” section of the “Framework Settings” admin screen, or using WooDojo‘s Login Branding feature.
All styling for the login screen can be found in the “css/login.css” file.
Widgets
Custom Definition Widgets
The theme includes 7 custom widgets that you can add to any of your widgetized regions. Definition also includes styling for many of our WooDojo widgets.
The custom Woo widgets included are:
- Woo – Adspace
- Woo – Search
- Woo – Flickr
- Woo – Blog Author Info
- Woo – Embed/Video
- Woo – Subscribe/Connect
- Woo – Component
[insert name=”adding-widgets”]
Page Templates
[insert name=”page-templates”]
