How To
Theme Overview
This theme includes support for WooCommerce, and our Features & Testimonials plugins.
Theme Menus
There is one menu location in this theme, but with it being made with one page in mind there is something unique about it. You can of course create actual pages and your regular menu that you are used to, but with The One Pager you can create links in the menu to different areas of the page. For example, if you click on the contact link it will take you to the contact form on that page. Here is how you set those up.
- Top Menu – This is the menu that is fixed to the top of the browser window.
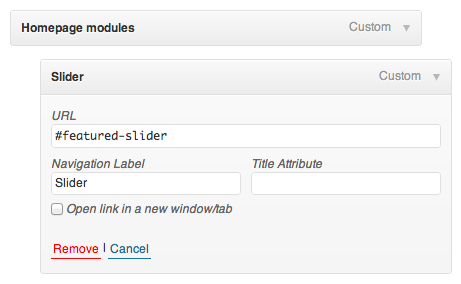
- Find the ID of the div to link to, this is fairly easy via this tutorial.
- Create a custom link in your menu.
- Use your full homepage URL (including a trailing /), along with the # sign and the ID of the DIV tag
Here’s a list of the default IDs.
- #featured-slider
- #features
- #posts-timeline
- #home-hero
- #home-shop
- #testimonials
- #blog-posts
- #contact-area
To setup your menus go to: Appearance > Menus
Homepage Overview
As the name implies, this theme is made to run all on one page. You may be tempted to add pages, but don’t give in as this theme looks and works great with just one page. Â So let’s go over getting this all setup, starting with the header.
Header Overview
The header is the first thing you see with this theme. We’ve created quite a few options for you to set this up just as you’d please too. Navigate to The One Pager > Theme Options > Header.
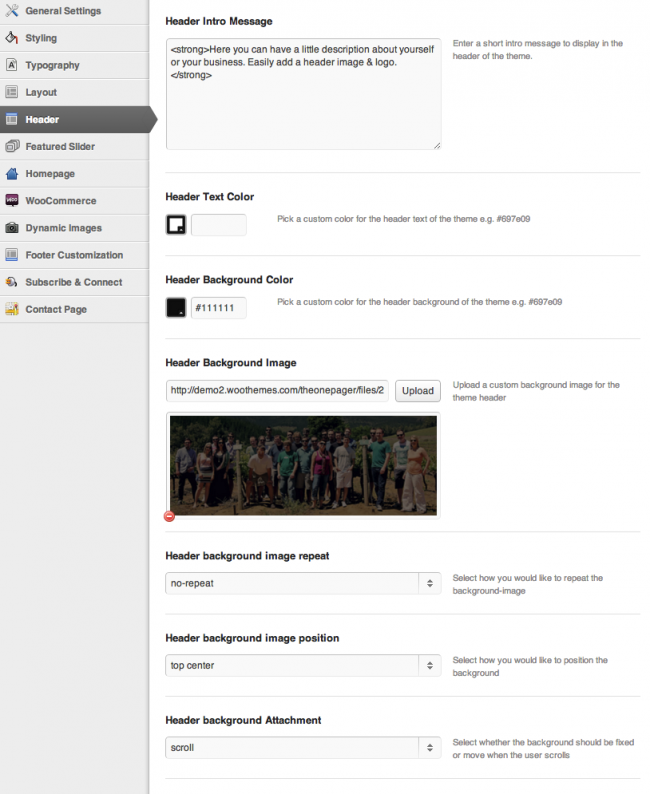
To start,
- Set an intro message
- Pick a text color for the intro message
- Choose a background color if not using an image
- Upload an image if you’d like that option
- Choose your background image repeat
- Choose your background image position
- Choose your background image attachment
Featured Slider
Below your header you have the option to have a featured slider. Navigate to The One Pager > Theme Options > Featured Slider > Slide Content.
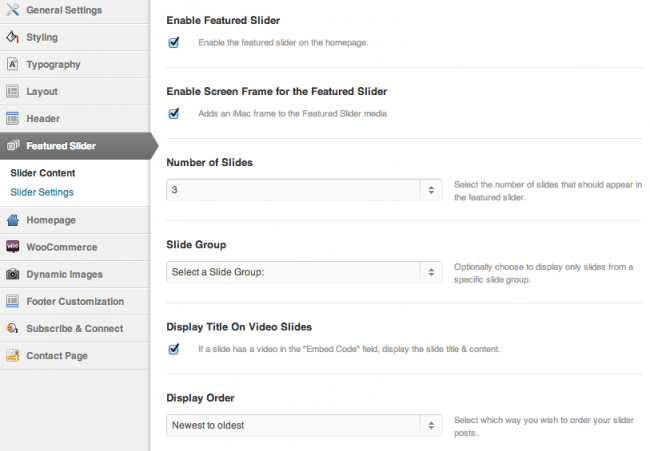
Be sure to,
- Enable or disable the slider, whichever you prefer
- Enable or disable the border that looks like an Apple Cinema Display
- Choose the number of slides to rotate through
- Choose a slide group if appropriate
- Enable or disable slide titles for video slides
- Choose a display order
Homepage Modules
Navigate to The One Pager > Theme Options > Homepage > Homepage Setup to find the modules you can enable or disable.
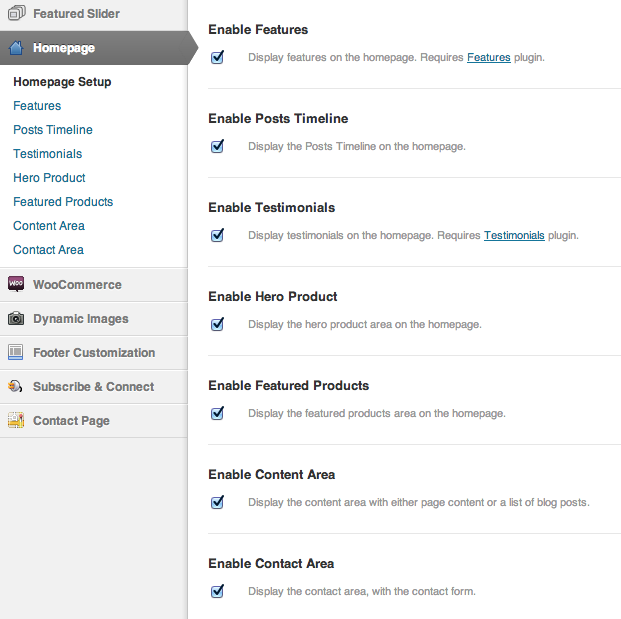
Here you’ll see each module you can enable or disable, choose at your discretion.
- Enable Features
- Enable Posts Timeline
- Enable Testimonials
- Enable Hero Product
- Enable Featured Products
- Enable Content Area
- Enable Contact Area
Features
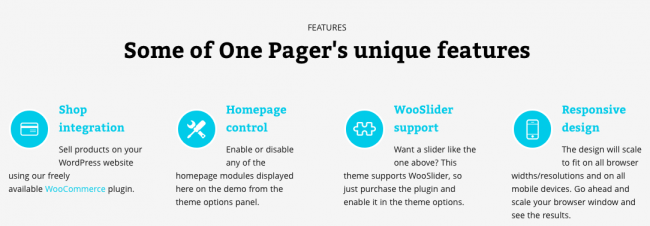
This area requires the use of our Features plugin and easily lets you setup feature posts for your site. Use this to highlight selling points of your business, product, or even yourself. In the options be sure to setup the following.
- Choose the number of features to show
- Type a heading for the area
- Type a title for the area that appears below the heading
Posts Timeline
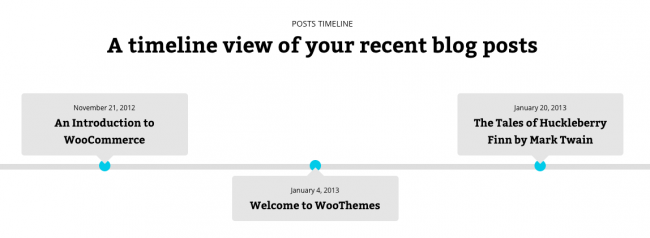
The posts timeline is an awesome way to highlight your 3 most recent posts, you can even pick them to show from a certain tag.
- Choose a heading for the posts timeline
- Choose a title for the posts timeline
- Optionally, pull in posts from a certain tag by choosing a posts tag
Testimonials
The testimonials area is powered by our Testimonials plugin letting you show off what your customers/clients are saying about you and your products or business.
To set these up,
- Choose a number of testimonials to show
- Choose a heading for the testimonials area
- Choose a title for the testimonials area
Hero Product
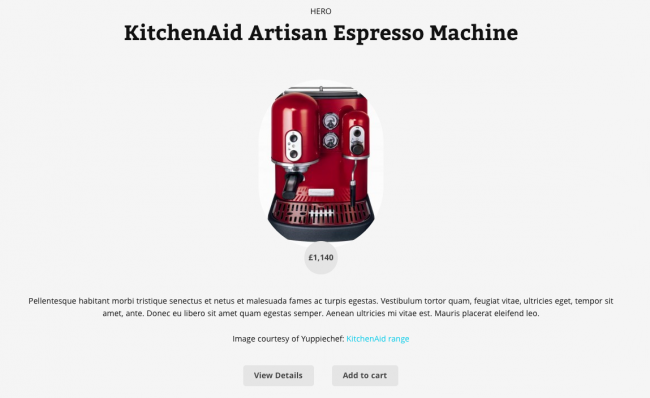
The hero product area, powered by WooCommerce, gives you a clean and clear space to show off one product. This could be a featured product of the month, or simply your hottest seller here.
- Choose your hero product
- Choose a heading for the hero product area
The rest of the details are pulled in from your product in WooCommerce.
Featured Products
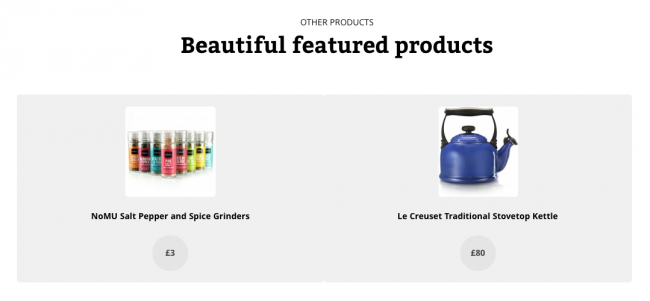
As the name implies, this area allows you to feature a handful of your products. Once again powered by WooCommerce, here is how you set this up.
- Choose the number of products to feature
- Choose the number of columns to display the products in
- Type a heading for the featured products area
- Type a title for the featured products area
Content Area
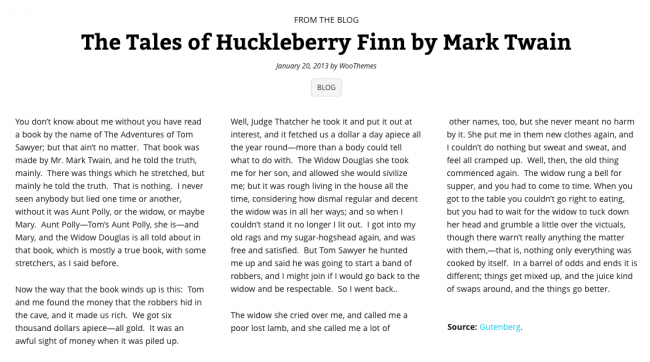
The content area here is just like in many of our other themes. It’s an easy way to showcase a pages content or your blog post(s) on the homepage. It’s very easy to setup.
- Choose your content type, either blog posts or page content.
- If page content, choose a page from the drop down.
- If blog posts, choose how many posts to show and a category to use if you’d like.
- Type a heading for the content area.
- Type a title for the content area.
Contact Area
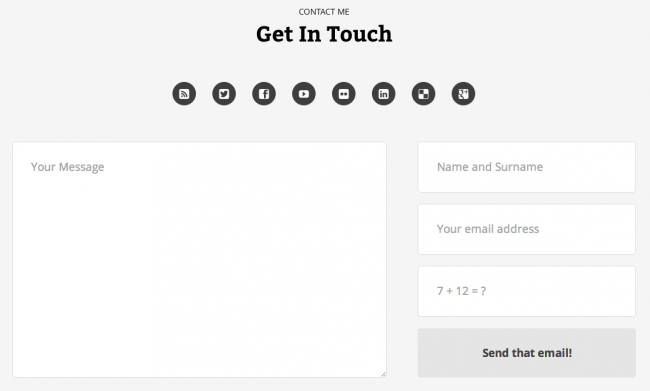
As the name may imply, this area of the theme has a big and bold built in contact form. It’s very easy to set the social icons and form up, here’s how.
- Enable the contact form under The One Pager > Theme Options > Homepage > Contact Area.
- Enable the social icons there if you’d like too.
- Head under the The One Pager > Theme Options > Contact Page > Contact Information to enter your email address.
- Head under the The One Pager > Theme Options >Subscribe & Connect > Connect Settings to enter your social networks.

