How To
Setting Up PixelPress
PixelPress is a fun and flexible business theme ready to take your site to the next level. It’s packed to the brim with WooThemes features. Let’s go over how to setup the theme.
PixelPress’ homepage can be setup in two ways. Either the standard module based setup, or you can have it be widgetized. Going widgetized lets you re-order any of the modules on the homepage using our included Woo – Component widget. Or you can use any widget available to you on the homepage.
Setting up widgets is as easy as drag and drop, but let’s go over using the modules and how to enable those. Running from top to bottom on the homepage we have the Slider, Mini-Features, Portfolio, and Blog section. There is also an included Content area that you could use to pull in a page or any blog posts.
Setting Up The Slider
First up is the Slider. PixelPress has a unique slider in it. You’ll first want to head into PixelPress>Featured Slider to setup any and all options you’d like here. Most importantly is to enable or disable it based on your site preferences.
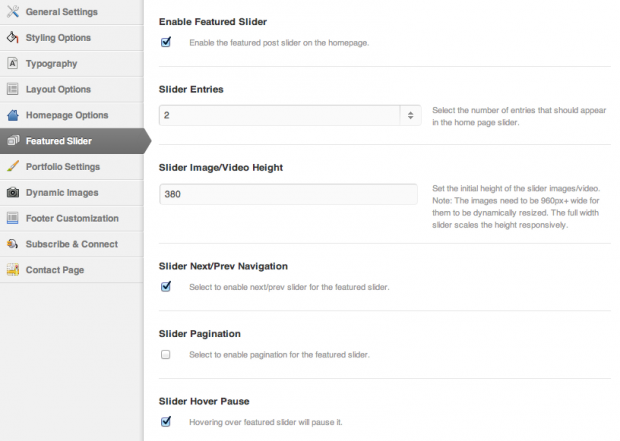
After you’ve got it setup, we’ll need to create some slides for it. It’s important to note that you need to create at minimum the number of slides you set in the theme options. If you’ve set it to show 3 slides then we need to create 3 slides. You can do so by going to Slides>Add New. Be sure to title your slide and write a short description/excerpt. Then you can either upload an image using the Featured Image or TimThumb options, or you can paste a video embed code. The slider will handle either type of media just fine.
If using an image, note how PixelPress uses slide images here. In addition to the image you upload in either the featured image or custom settings panel there is also a place for the slide’s background image.
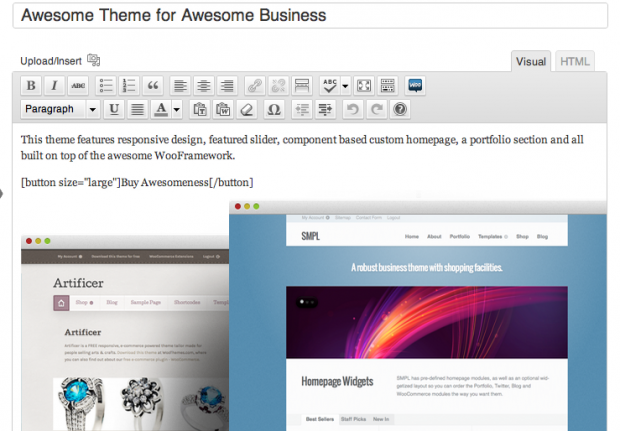
This provides you with a lot of flexibility, for example take how we’ve built our slides. We’re using the default slide background, but then building the header, slide body, slide image, and slide button inside the content editor of the slide post. We think this addition to the normal slide post lends to much more flexibility in how you can create slides.
To Recap
To add a slide follow these steps:
- Go to Slides>Add New.
- Type a title for the slide and complete all of the post’s body content.
- If you want an image to appear as the background to the entire slide than add a “Slide Image” in the Custom Settings panel or Featured Image option.
- If you want to use a video simply past the embed code in the proper box under the Custom Settings
- Publish the slide.
Features Area
Next is the Features Area. You can enable this under PixelPress>Homepage Setup>Features Area. Then under PixelPress>Homepage Setup>Mini-Features you’ll find more options.
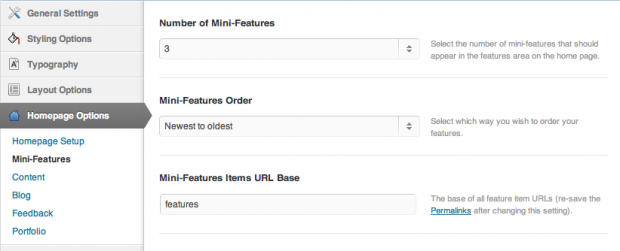
Once you’ve setup your options you will need to create at minimum the number of features you specified in the theme options. If you set it to show 3 Features then be sure to create at least 3 features. You can do so by navigating to Features>Add New. Here you simply need to fill out the title, excerpt, and then upload an image if you’d like.
To Recap
To add a feature follow these steps:
- Go to Features>Add New.
- Type a title for the feature and complete all of the post’s body content.
- If you want an icon to appear beside the feature than add a “Features Icon” in the Custom Settings panel.
- Add an excerpt for the feature in the “Features Excerpt” field in the Custom Settings panel.
- Publish the Feature.
Setup The Portfolio
The portfolio area below the Features is a great spot to show off the work you’ve done and is pretty simple to setup.
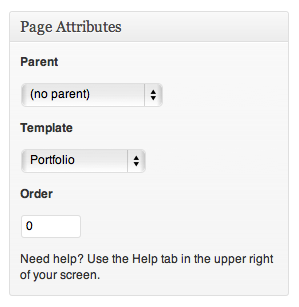
First we’ll need to be sure that your portfolio page is setup correctly. Create a page and title it however you’d like, we’d recommend calling it Portfolio. Then be sure to assign the Portfolio page template to it.
From here we need to add items to the portfolio. Go to Portfolio>Add New. Title your portfolio item and write a short description of it if you’d like. You can also add it to a portfolio gallery of your choice to organize it. Now you can add your images or paste a video embed code in the custom settings box. Finally, click publish.
To add multiple images to a portfolio post simply upload all of them when setting a featured image. Once you’ve set your featured image the rest of the images will be pulled into the post.
To Recap
To add a portfolio post follow these steps:
- Go to Portfolio > Add New.
- Type a title for the post and complete all of the post’s body content.
- If you are posting an image(s) upload them via the appropriate image options you’ve chosen.
- If you want to use a video simply past the embed code in the proper box under the Custom Settings
- Publish the portfolio post.
Portfolio Area
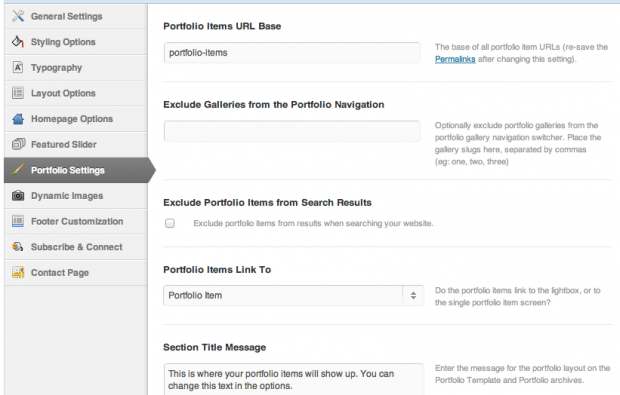
Now that we’ve setup our portfolio and added some work to it, we need to show a few of our latest posts on the homepage. Navigate to PixelPress > Homepage Options > Homepage Setup to enable this and under PixelPress > Portfolio Settings you can tweak any other options here to your liking.
Blog Area
Our last area on the homepage is the Blog Area. As it says this is where you can feature a few of your latest posts on the homepage. Head over to PixelPress > Homepage Options > Homepage Setup to setup the options here as you’d like. You can choose how many posts to show, as well as the option to show a page there instead. Under PixelPress > Homepage Options > Blog or PixelPress > Homepage Options > Content respectively.
Widgets
Custom PixelPress Widgets
The theme includes 9 custom widgets that you can add to any of your 5 widgetized regions – 1 sidebar and 4 footer widgetized regions. PixelPress also includes styling for many of our WooDojo widgets.
The custom woo widgets included are:
- Woo – Adspace
- Woo – Search
- Woo – Flickr
- Woo – Blog Author Info
- Woo – Embed/Video
- Woo – Subscribe/Connect
- Woo – Component
[insert name=”adding-widgets”]
Page Templates
[insert name=”page-templates”]